👨💻 Usage examples
Getting Started: Installing Elevatr
First things first: install the latest version of elevatr using the command below.
pip install elevatr
1. Downloading Raster Elevation Data ⬇️
Let’s dive into a simple example of how to download raster elevation data with elevatr. Here’s how it works:
import elevatr as elv

# Define the bounding box of the area of interest (min_lon, min_lat, max_lon, max_lat)
bbx = (-5.14, 41.33, 9.56, 51.09)

# Set the level of precision (between 0 and 14)
zoom = 6

# Access the elevation data
# You can choose the crs of the output raster
raster = elv.get_elev_raster(locations=bbx, zoom=zoom, crs="EPSG:3857")
Advanced Options
Need to manage cache efficiently? Use these handy parameters:
cache_folder : Specify where to store cache files.
use_cache : Decide if existing cache should be reused.
delete_cache : Clean up cache after use.
For more details, check out the full documentation.
2. Use the Raster 🗺️
The Raster class in elevatr makes working with raster data intuitive and enjoyable. Here’s what you can do:
Visualizing the Raster Data
Want to see your elevation data? No problem!
raster.show(cmap='terrain', clip_zero=True)
And here’s an example of what you might see:
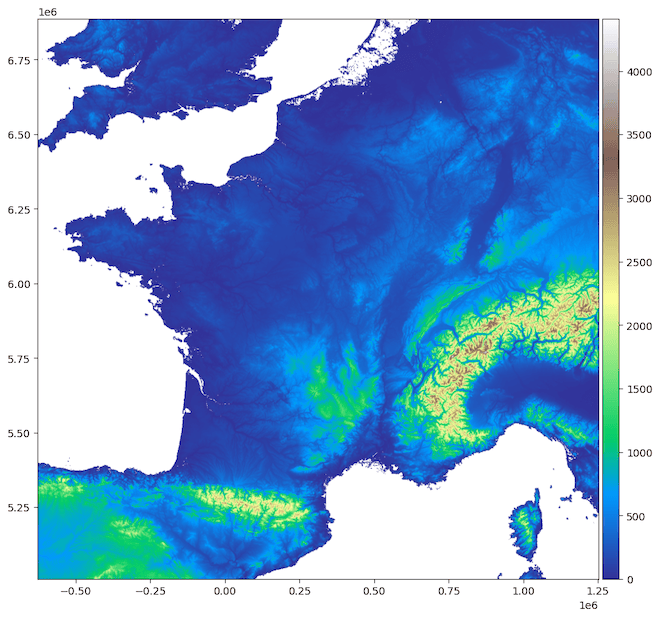
Note
You can customize the visualization by setting the show_extras parameter to False to remove any additional visual elements. Additionally, you can save the generated image by specifying a file path using the file_path parameter.
Converting the Raster to a NumPy Array
Need the data in array format for further processing? It’s just as easy:
raster_array = raster.to_numpy()
Sample output:
array([[  -75,   -76,   -77, ...,    56,    57,    57],
       [  -77,   -78,   -78, ...,    56,    56,    56],
       [  -78,   -79,   -79, ...,    56,    55,    55],
       ...,
       [  853,   861,   863, ..., -1513, -1601, -1648],
       [  839,   847,   857, ..., -1568, -1646, -1677],
       [  819,   823,   830, ..., -1631, -1722, -1773]], dtype=int16)
Saving the Raster as a GeoTIFF File
Want to keep your elevation data for later? Save it as a GeoTIFF file:
raster.to_tif('elevation.tif')
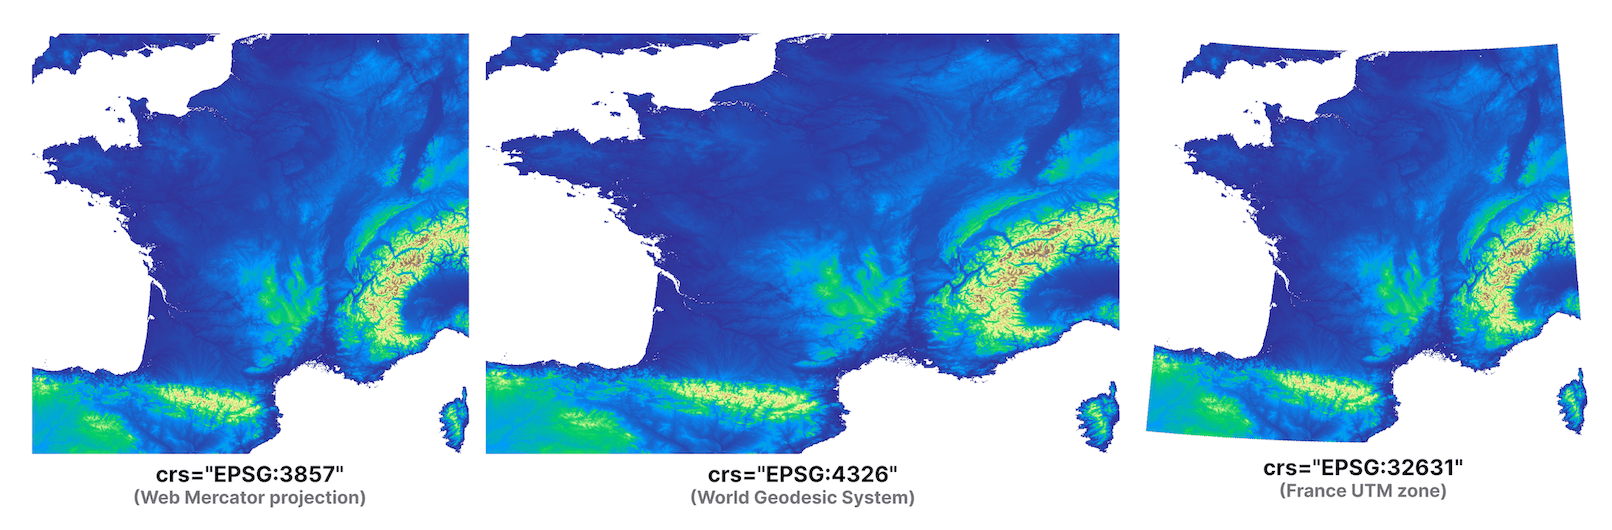
Reprojecting the Raster to a Different Coordinate Reference System (CRS)
Need to reproject your raster data? No problem! Here’s how you can do it:
Note
This method updates the class attributes in place. The original raster data is overwritten.
raster.reproject(crs="EPSG:4326")
Here’s an example of different reprojected raster data:
Accessing the Raster metadata:
resolution : Get the resolution of the raster.
raster.resolution
>>> {'x': 1224.8882616638757, 'y': 1224.8882616638757, 'unit': 'metre'}
imagery_sources : Get the sources of the imagery.
raster.imagery_sources
>>> 'etopo1, gmted'
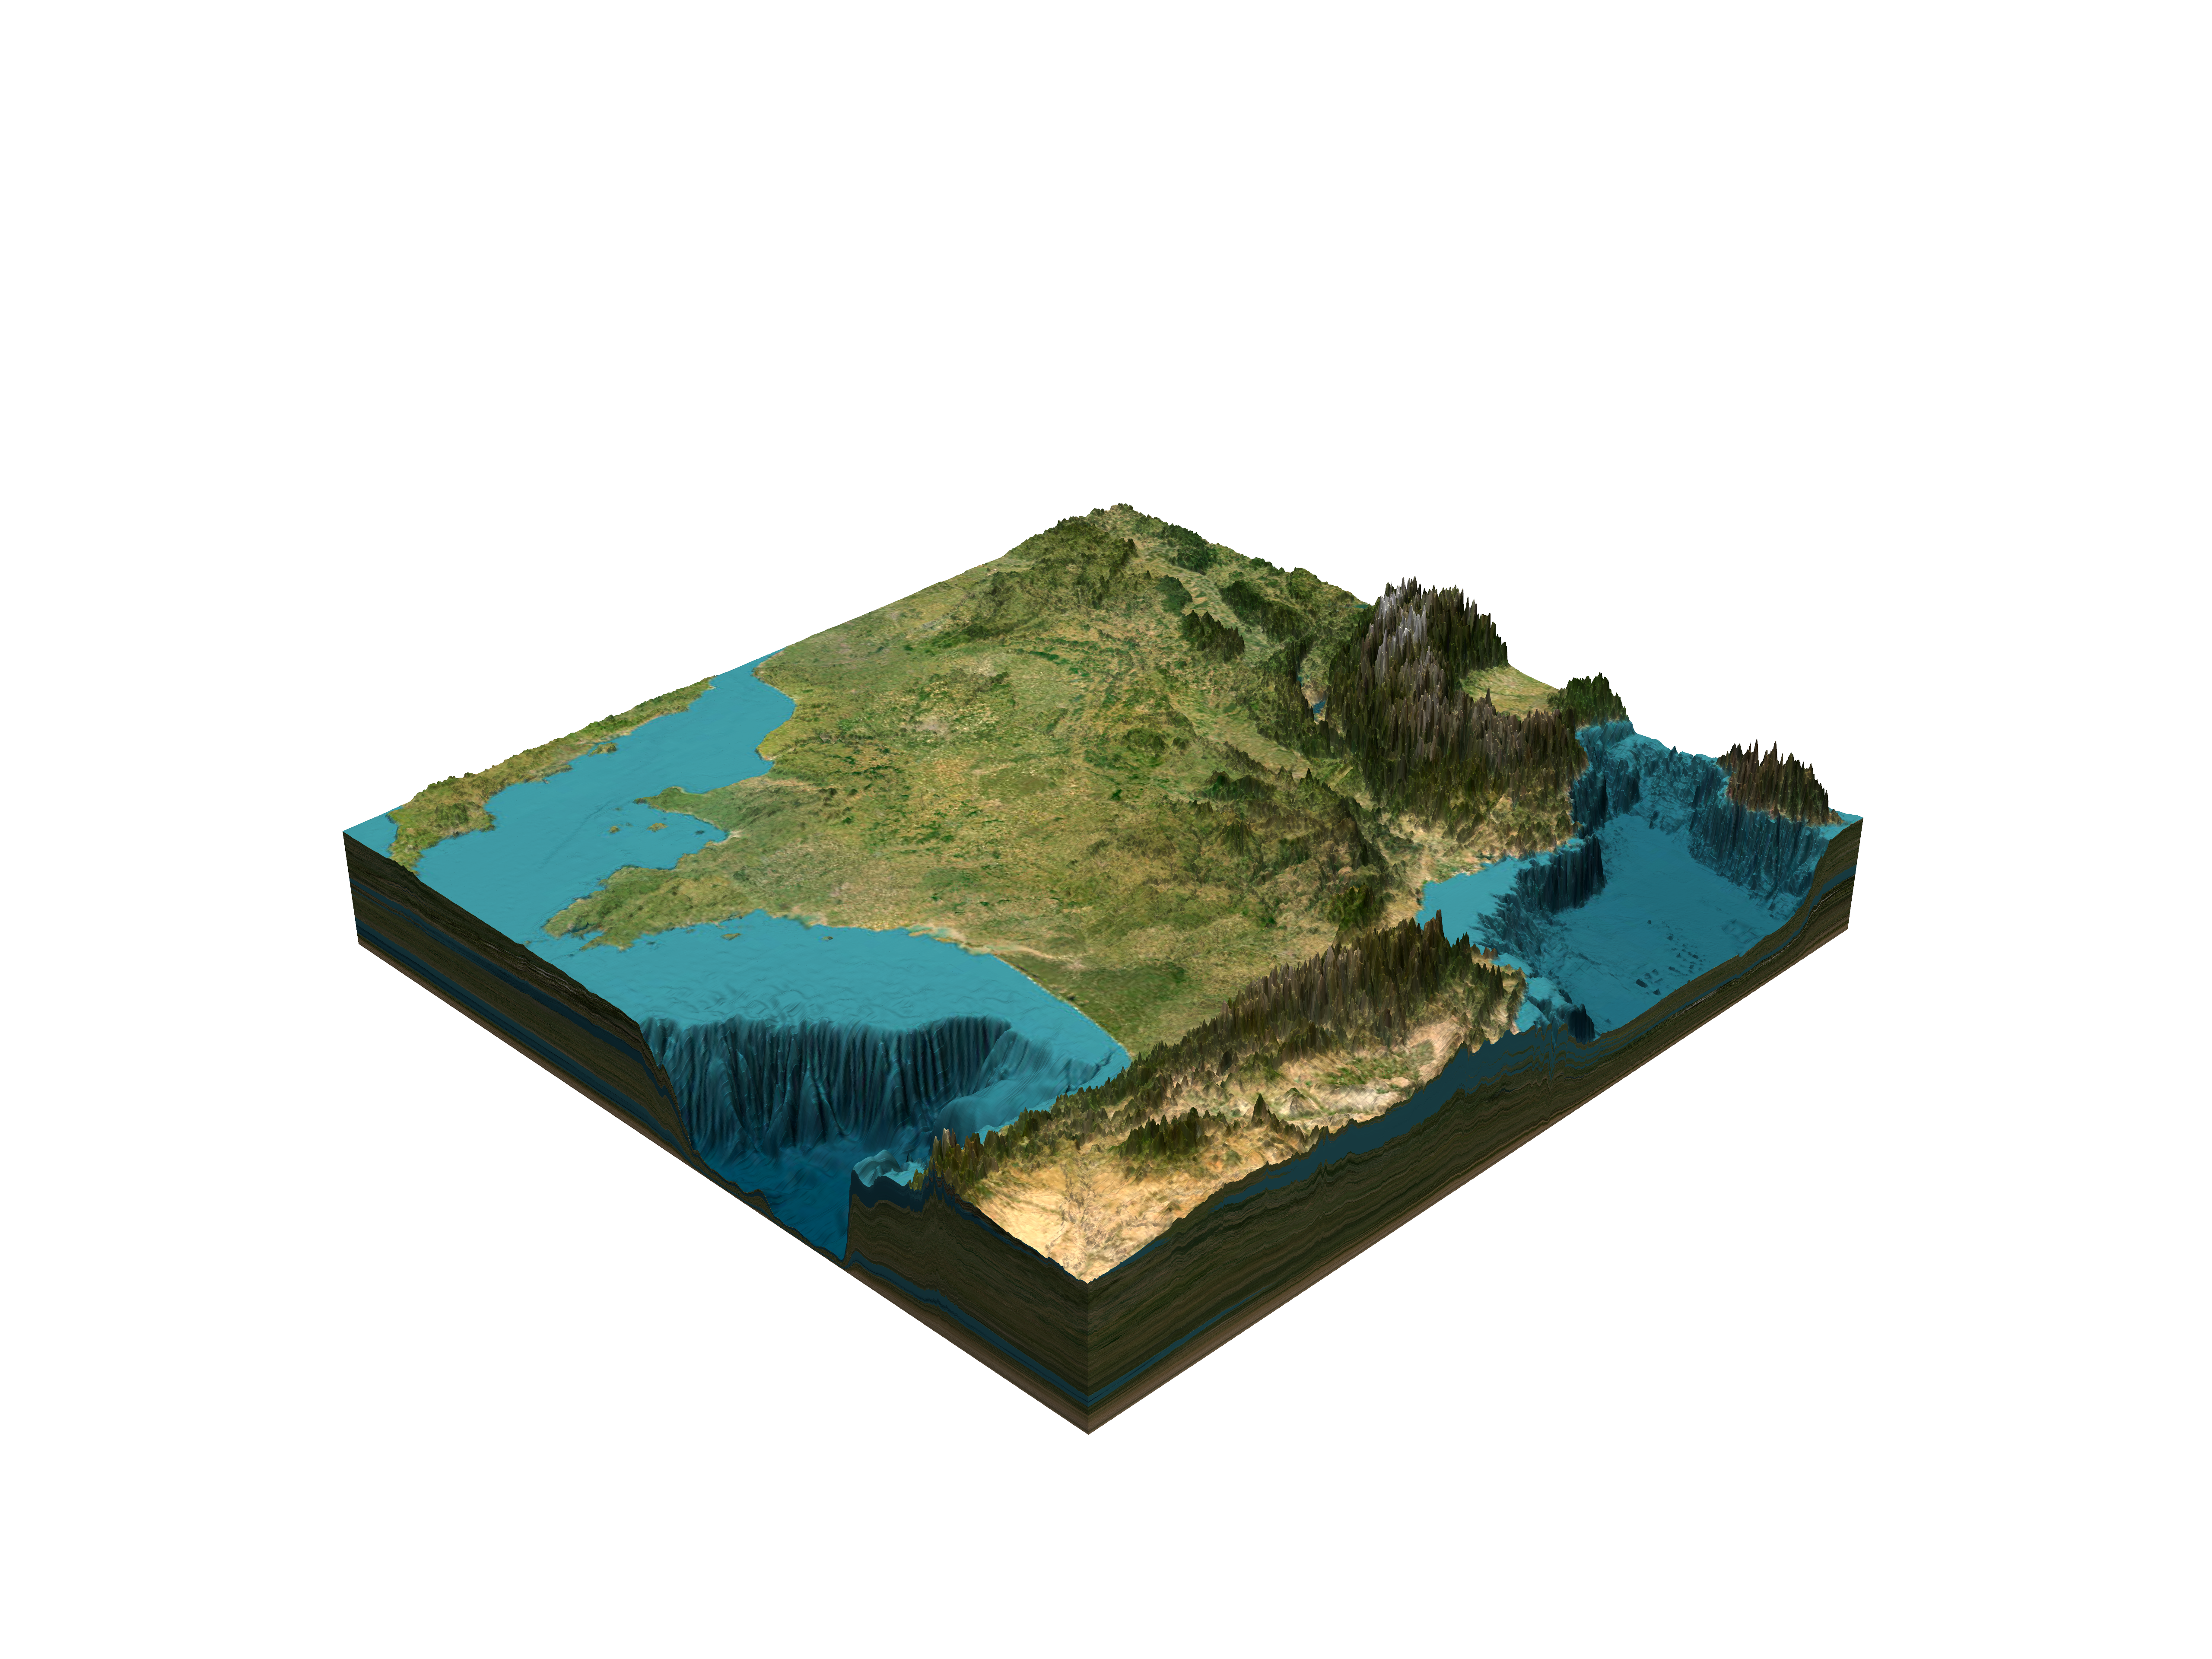
Visualizing the Raster in 3D
Want to explore your elevation data in three dimensions? Here’s how to render a stunning 3D view:
raster.show_3d(
    solid=True,
    light_intensity=0.5,
    transparent_background=True,
    zscale=40,
    phi=30,
    theta=180,
    file_path="elevation.png",
)
Here’s an example of what your 3D visualization might look like:
Closing the Session
Done working with your raster? Release the resources properly:
raster.quit()
That’s it! You’re ready to start exploring elevation data with elevatr. Whether you’re visualizing, analyzing, or saving, this library has got you covered. Happy mapping! 🌍⭐